![]()


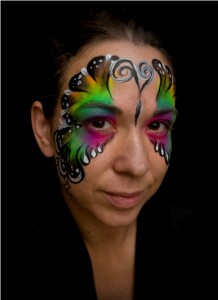
Neon Butterfly step by step design
I paint my face regularly for meetings, appointments and sometimes just to run out and do errands. It helps people remember me, see the work I do and seriously, who can forget the face paint lady! This is a fun and easy butterfly design I did a few weeks ago, I had an event and wanted to make sure the design was simple enough that I could duplicate it for a large group of children but still pretty and impressive. It seems neon colors are a huge hit with any crowd so if you want impressive and simple that is the way to go! I was happy with the outcome but I prefer to add more detail than this.
Tools used: #3 round brush, TAG Neon rainbow cake.
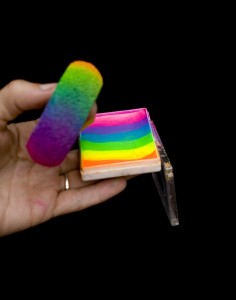
TAG neon rainbow cake, sponge loaded on rounded side.
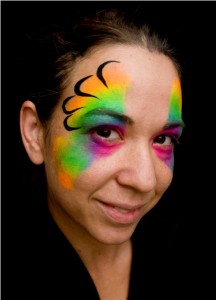
Step 1: Using the back, rounded side of a high density sponge, load all colors of TAG neon rainbow split cake (or any split cake, colors can also be added individually). Sponge the color onto face starting at the eye and rolling and dabbing toward outside in butterfly shape. Be careful you don’t get too close to the hair-line and also not cross over the smile lines.
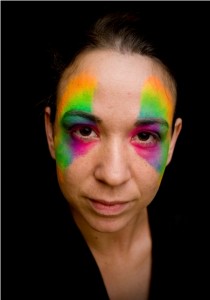
start at the inside of the eyes and roll out toward edges.
Step 2: Outline with curves in black using a #3 round brush.
Step 2, outline in butterfly shape in black.
Step 3: Using a dry filbert or scruffy brush, blend outlines down toward center.
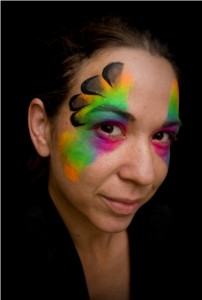
Step 3, blend black edges toward center.
Step 4: Continue with design around all edges. Paint center of butterfly body and antennae using swirls or any shape you like.

Step 4, add butterfly body, continue with lines and blending around design.
Step 5: Add extra outlines along bottom as well as swirls.
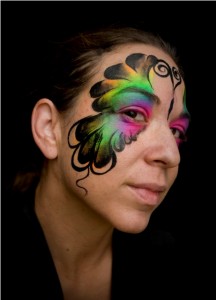
Step 5, add more swirls and outlines to bottom wings.
Step 6: Using #4 round load white paint and create teardrop in each round portion as well as dots in other areas.
Step 6, add white highlights and dots.
Step 7: Continue outlining areas and adding tear drops.
Step 7, add more white and teardrops.
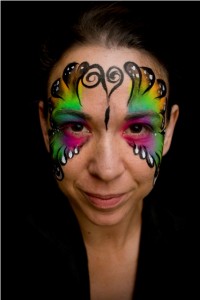
Step 8: Add stars and glitter as desired. Add paint to lips and add sheer Kryolan inferenze on top to highlight.
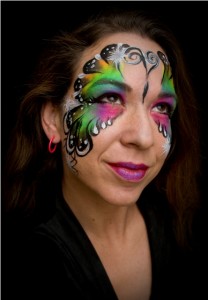
Step 8, add stars and final details.
You are done if you choose, you could add more if you prefer. You could easily leave off the shading or some of the white details to save time on this design, as is, this is about a 4 minute design. You could do this for several children and alternate to different rainbow cakes or other colors. Enjoy and feel free to email with any questions at wagnerevents@gmail.com.
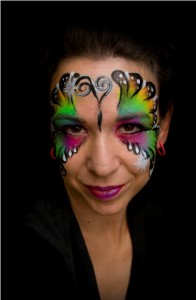
final design
Lorrin is a face painter out of the Tampa Bay area, she also does balloon twisting, airbrushed art and glitter art. Feel free to view photos and get additional information at www.WagnerEvents.com.


